
Understanding the Basics of Picture Hanging
Picture hanging is more than just a practical task; it plays a critical role in enhancing your home decor and ensuring your artwork is displayed effectively. Knowing the fundamentals will help you create a visually appealing environment that resonates with your personal style. From selecting the correct height for your pieces to understanding the tools you need, mastering the art of picture hanging can elevate your space. Throughout this guide, we will delve into various aspects of picture hanging, providing you with tips, techniques, and advice that will transform your living spaces.
Importance of Proper Height
One of the most critical factors in picture hanging is the height at which you hang your artwork. An incorrectly placed picture can disrupt the flow of a room, making it feel unbalanced or chaotic. Generally, a good rule of thumb is to hang art at eye level, which tends to average around 57 to 60 inches from the floor to the center of the frame. This standard allows for an optimal viewing experience in various spaces, including gallery walls, where multiple pieces are displayed together.
However, consider the scale of the art in relation to the wall and the surrounding furnishings. Taller ceilings may warrant higher placement, whereas smaller pieces in an intimate space may feel more welcoming when hung lower. The context of the room—such as whether it’s a living room, hallway, or gallery—will also guide you in finding the perfect height.
Choosing the Right Tools and Materials
To achieve a seamless look when hanging pictures, using the right tools and materials is essential. Basic tools include a level, measuring tape, pencil, and hammer. For heavier frames, wall anchors or screw hooks offer the necessary support, while lighter pieces may only require adhesive strips or small nails. Additionally, consider the wall type; drywall, plaster, and concrete require different fastening methods.
Your choice of hanging hardware can also impact the overall presentation. Picture hanging kits often come with various hook sizes and weights, allowing you to select the appropriate hardware for your frames. Ensure the materials you choose are compatible with both your artwork and the wall to avoid damage or accidents down the line.
Common Mistakes to Avoid
Even seasoned individuals can make mistakes when hanging pictures. One common error is overloading a wall with too many pieces, leading it to feel cluttered or chaotic. Aim for a cohesive theme and adequate spacing between each piece, typically 2 to 4 inches, to maintain visual harmony.
Another mistake is neglecting to center artwork properly, either on the wall or above furniture. Like a well-composed photograph, balance is critical. Ensure your pictures are aligned, especially when displaying multiple pieces. Finally, consider the lighting; artwork may look entirely different depending on how it’s lit and the time of day.
Various Picture Hanging Styles and Techniques
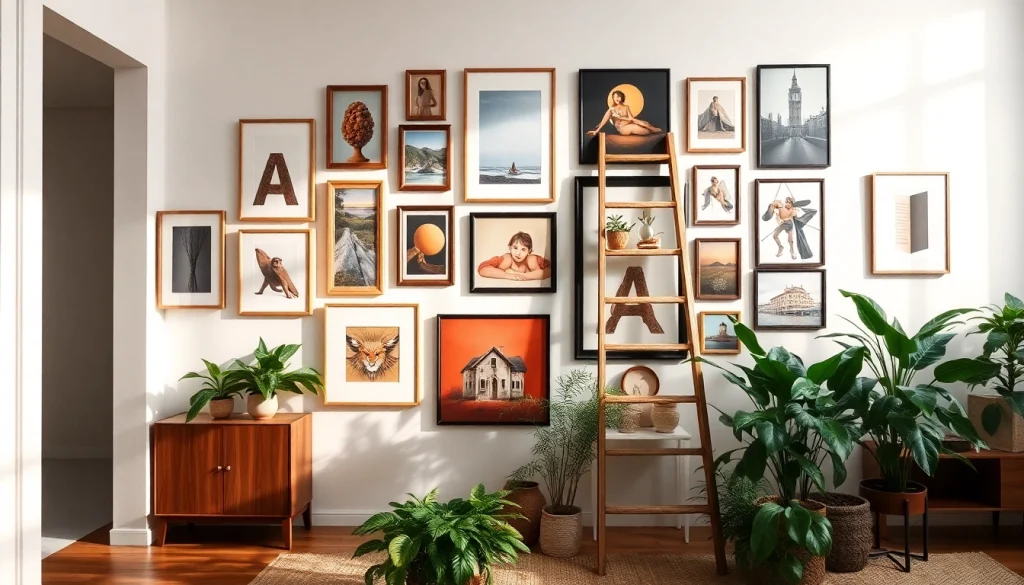
Gallery Wall Inspiration
A gallery wall presents an exciting opportunity to display multiple works of art creatively. Begin by selecting a dominant piece, which will act as the focal point of your arrangement. This can be framed artwork, a large photograph, or even a mirror. Once the anchor piece is chosen, lay out your other pieces around it, arranging them in various orientations until the composition feels balanced.
For a successful gallery wall, consider using frames of different sizes and styles that still feel cohesive. Create a unified look by coordinating colors or ensuring the pieces relate thematically, such as travel memorabilia, family photos, or abstract art. Use a piece of paper to map out the arrangement on the floor before making a commitment to nails on the wall.
Symmetrical vs. Asymmetrical Arrangements
Symmetrical arrangements provide a classic, formal aesthetic, with artwork balanced evenly on either side of a central point. This method is particularly effective in more traditional decor schemes, where it contributes to a sense of order and elegance. It often features identical or similarly styled pieces that are framed uniformly to enhance the symmetry.
Conversely, asymmetrical arrangements create visual interest and can convey a more relaxed and modern vibe. This style allows for greater flexibility, as it enables the combination of different art pieces without strict adherence to balance. The key here is to ensure that when you step back, the composition collectively feels harmonious, using weight and visual density to guide your placement.
Utilizing Shelves and Ledges
Shelves and ledges offer an excellent alternative to traditional hanging methods. They allow flexibility, enabling you to change photographs and artwork without making new holes in your walls. Picture ledges are especially popular in minimalist designs, where the emphasis is on showcasing select pieces in a modern manner.
When arranging items on shelves, consider layering and varying frame heights. Use smaller pieces in front of larger ones and incorporate decorative objects like books or plants to create an engaging display. This technique allows for a dynamic environment that can evolve over time while still contributing to the overall decor.
Measuring and Planning Your Picture Layout
Creating a Template for Accuracy
Before hanging your art, it’s wise to measure and plan your layout carefully. Use painter’s tape to outline the dimensions of each frame on the wall, mapping the arrangement visually to see how it fits in your space. This technique allows for easy adjustments to spacing and positioning without a commitment to nails or screws.
Once you’re satisfied with the layout, take measurements of each frame’s dimensions and the desired spacing. It’s helpful to note these measurements for accurate placement when you begin the hanging process. Templates not only save time but also help visualize the overall design, ensuring a polished final look.
Utilizing Apps for Planning
In our digital age, numerous apps and online tools simplify the planning process for picture hanging. Applications like Housecraft or Artfully can help you visualize art placement virtually, allowing you to experiment with different layouts and styles right from your device. These tools let you upload images of your wall and art pieces, making it easier to find the perfect balance and experiment without risk.
These digital platforms not only provide ideas but also inform you about dimensions, ensuring you have a logical and aesthetically pleasing arrangement before any hammering begins.
Visual Balance in Arrangements
Visual balance is essential in any arrangement—whether symmetrical or asymmetrical. A quick way to check for balance is to step back and view your arrangement from a distance. Ensure that heavier pieces are not disproportionately clustered on one side while lighter items dominate the other side. Effective visual balance allows for comfort when viewing art and avoids having one area appear overcrowded.
Furthermore, consider color and texture as part of balance. Large dark frames may require lighter, more colorful pieces to avoid overwhelming the viewer visually. Experimenting with contrasts and complements can add to the overall appeal of your display.
Enhancing Your Decor with Accessories
Incorporating Lighting for Effect
Lighting plays a critical role in showcasing your artwork effectively. Natural light has its advantages, but accent lighting can enhance colors, textures, and even the mood of the space. Consider using picture lights above your artwork or track lighting that directs focus to specific pieces, creating visual drama.
When choosing light fixtures, consider functionality and style. LED lights offer longevity and can shine a white light that highlights the true colors in your art. Always remember to avoid direct sun exposure on sensitive materials to prevent fading over time.
Pairing Art with Complementary Elements
Artwork can be effectively enhanced by combining it with complementary elements. For instance, pairing paintings with sculptures, plants, or even textiles can create a multi-dimensional display that captures attention. Consider the theme during this process; for instance, pairing abstract art with geometric decor can create coherence and strengthen your design concept.
In addition, consider the hue of your walls and furniture when selecting art. Pieces that complement or contrast with existing decor create depth and richness that enhance the overall aesthetic.
Adding Personal Touches
Your art is a reflection of your personality and experiences. Don’t shy away from incorporating personal touches such as family photos, travel souvenirs, or handcrafted pieces alongside more traditional decor items. This inclusion fosters a sense of belonging and can spark conversations, adding a unique narrative to your living space.
Creating a collection that tells your story not only personalizes your decor but also provides an opportunity for creative expression. Each piece can evoke cherished memories, making your home feel more inviting and lived-in.
Maintenance and Adjustments After Hanging Pictures
Regular Dusting and Care Techniques
Once your pictures are hung, proper maintenance ensures that they remain an integral part of your decor for years to come. Regular dusting with a soft, dry cloth is essential, particularly for frames and glass surfaces. For unframed canvas, a gentle vacuum with a brush attachment can remove dust without damage.
Additionally, inspecting your pieces for moisture or environmental damage will help preserve their condition. Ensure your artwork isn’t exposed to excessive humidity, heat, or sunlight, as these factors can significantly affect longevity.
When to Reassess Your Layout
As seasons change or life events occur, your decor may require reassessment. Consider updating layouts when you introduce new artwork, such as adding seasonal pieces to refresh your aesthetic. If your existing artwork no longer resonates, it may be time to reconfigure your arrangement or replace certain pieces entirely.
Moreover, if your existing arrangements feel stale or uninviting, take a moment to reevaluate. Sometimes simply changing the position of a few pieces can revive a space and create a fresh look.
Making Changes Without Damage
Making adjustments to your picture arrangement should be done thoughtfully to prevent damage to your walls. Use adhesive hooks or removable tape for lighter frames, as they are less likely to cause harm when removed. For heavier pieces, a careful, strategic approach to repositioning is critical; perhaps by using the original holes or investing in wall repair kits for touch-ups.
Also, keep a portfolio of positioning ideas for your art, which can help keep track of any designs you may want to redo without extensive trial and error each time you reinvent your space.
FAQs About Picture Hanging
What is the best height for hanging pictures?
The ideal height for hanging pictures is typically around 57 to 60 inches from the floor to the center of the artwork, as this is often considered eye level.
How can I avoid damaging my walls while hanging pictures?
Use adhesive hooks for lighter pieces or ensure you’re using wall anchors and screws for heavier frames. Always be cautious when putting holes in your wall.
Can I hang pictures on a textured wall?
Yes, but it may require specific wall anchors that can grip onto the texture. Look for anchors designed for the wall type you have to ensure stability.
What tools are essential for hanging pictures?
Basic tools include a level, measuring tape, hammer, and a pencil. Depending on your picture weight, you may also need wall anchors or special hooks.
Is it better to use frames or hang art unframed?
It depends on the look you want to achieve. Frames add structure and can enhance the art, while unframed pieces offer a casual, modern aesthetic.